Demand for natural outdoor living spaces is at an all-time high, and even small, urban lots are being transformed into miniature nature preserves. Today’s consumers are craving to reconnect with nature after a crazy year of masking up and social distancing.
Because of the rapidly increasing need to de-stress and unwind, a growing number of people are choosing soothing, natural water features for their outdoor spaces. When designing a natural-looking pond for your customer, it’s wise to take your cue from Mother Nature herself.
The Shape of the Pond
The use of irregular flowing lines is critical in the pond planning stage if you want to mimic nature. Keep in mind that homes, driveways, patios, and decks are a few of the existing elements you may need to incorporate into your overall water garden design. Ponds vary in shape and size and design considerations should be based on the desired size of the pond.
Pro Tip: Avoid designing the pond for a low-lying area of the yard that already gathers water, no matter how convenient it seems. ‘Outside’ water can seep into the pond and cause excessive algae blooms or other adverse circumstances.
Small Ponds
When installing a small pond, the goal is to take the space to its fullest potential. When designed correctly, a small pond makes the outdoor area appear larger than it is. Skimmers and biological filters are still used in the small pond, with a waterfall to add aeration. Since the pond is smaller, the placement of each component needs to be carefully planned.
Large Ponds
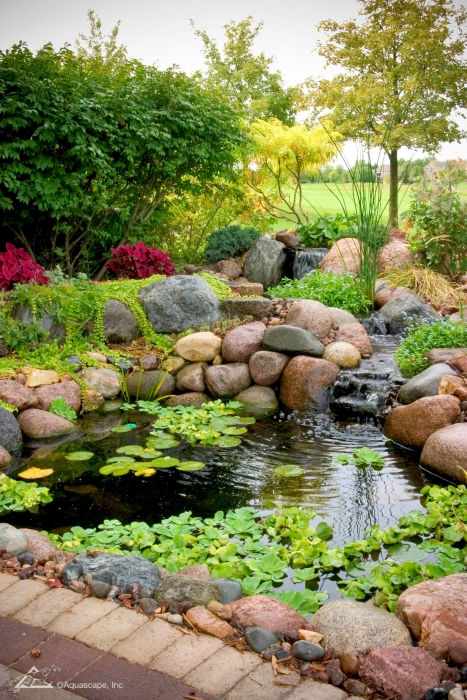
When designing a large pond, ask your customer how they plan to use the pond. Do they dream of lakefront property? Do they want to keep lots of fish? Perhaps they plan to swim in the pond or maybe they simply want to keep the water feature in scale with their property. The process for installing a large pond is basically the same as constructing a small pond, the components are just larger or more numerous.
The Edge Treatment
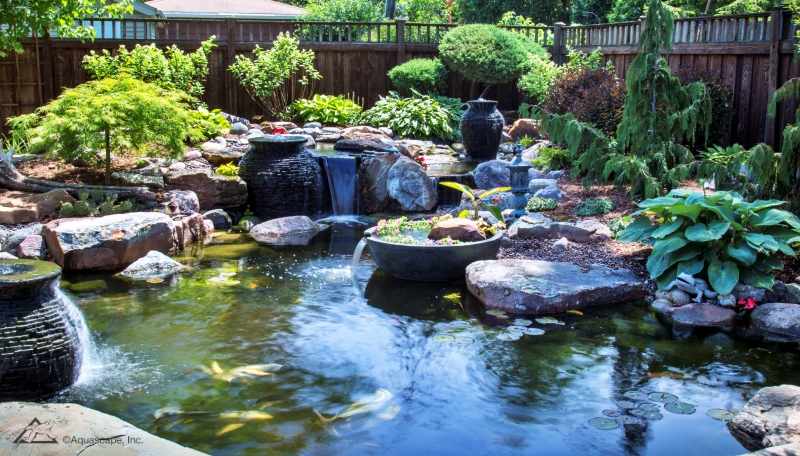
One of the most important parts of pond design is the edging; it’s important that the pond transitions naturally into the surrounding landscape. First and foremost, you’ll want to hide the liner and create a transition from the pond to the terrestrial areas of the property. Mulch or decorative gravel can be added around the perimeter to conceal the liner.
To help with the transition from water to land, be sure to use a variety of rock sizes around the perimeter of the pond. If the entire pond is filled with large rocks, things will look out of proportion. The same goes for using only small rocks. As a general rule, the best ratio for rock size is 1:2:1 (1 part small, 2 parts medium, 1 part large). Find a type of stone you like and keep working with it; however, you should be sure to keep your customer’s desires in mind.
Planting
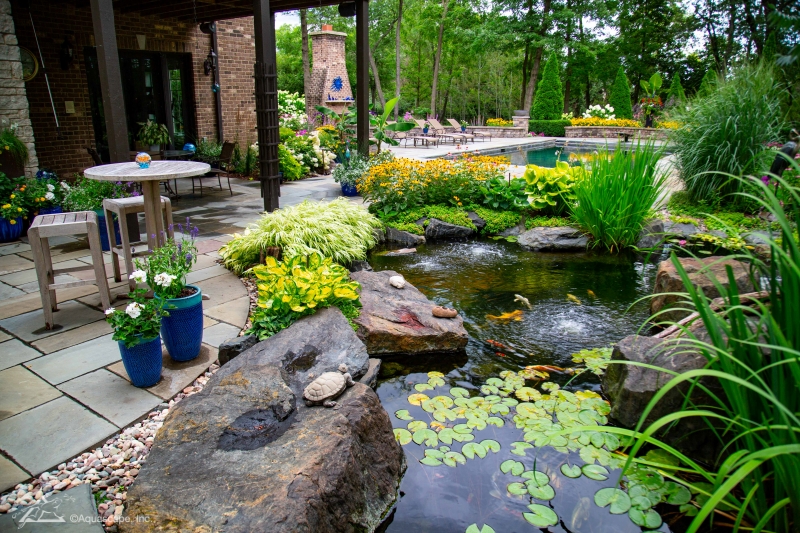
Plants are an important consideration in pond design. Aquatic plants help naturalize the pond and play a critical role in keeping the ecosystem healthy by removing excess nutrients. In keeping with nature, use a variety of plant types. Marginals help to soften the edges of the pond while water lilies provide interesting pops of color. Floating plants like water lettuce and water hyacinth help to shade the pond and provide protection for fish. Use plantings to creatively disguise where the water ends and the land begins.
Rock and Gravel
Rocks and gravel are another important element of the pond’s ecosystem as they provide surface area for beneficial bacteria to grow. A gravel-bottom pond with about one-inch depth of gravel helps protect the pond liner from harsh UV rays and creates a safer surface on which to walk (wet liner can be very slippery).
Just as important are the aesthetics of using rock and gravel, as they create a more natural appearance to the water garden. Stones can be worked into the pond’s perimeter, creating interesting planting areas. They can also be located further away from the pond, which will help make a natural transition from the pond to the surrounding landscaping.
Skimming the Surface
You’ll want to make sure there’s enough room to place your skimmer on one end of the pond. Skimmers are essential in drawing in surface debris before it has a chance to decompose and settle on the bottom of the pond, producing noxious gasses. Along those same lines, leave room for the biological filter, the start of the waterfall or stream, which should be kept in scale with the size of the project.
Designing Your Stream
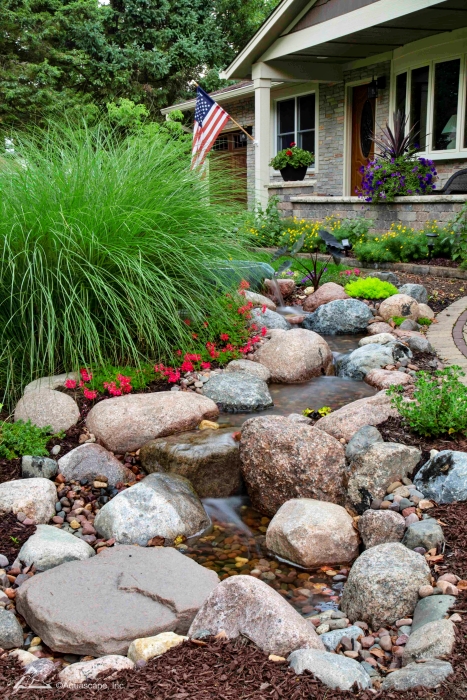
Streams are highly versatile and create nature’s music as they change gradients and cross the landscape. Streams can be followed by pathways and traversed with stepping-stones and bridges.
Streams are fairly easy to build when you follow a few easy guidelines. When designing streams, look for elevation changes that can work for or against you. Elevations working for you will have the slope coming towards the viewing area of the pond. You can simply carve out the hillside to create a natural area for a watercourse. Be sure the stream traverses across the slope to increase the viewing area and exposure.
Views from the home and surrounding seating areas are always targeted first when designing streams and falls. If the budget allows, start the stream far enough away from the viewing areas so people are drawn into the landscape to explore the source of the water. Interactive water features will get the greatest response from your customers because they’re fun to explore.
Building Shelves into Your Pond
There are several reasons for building shelves into each and every pond:
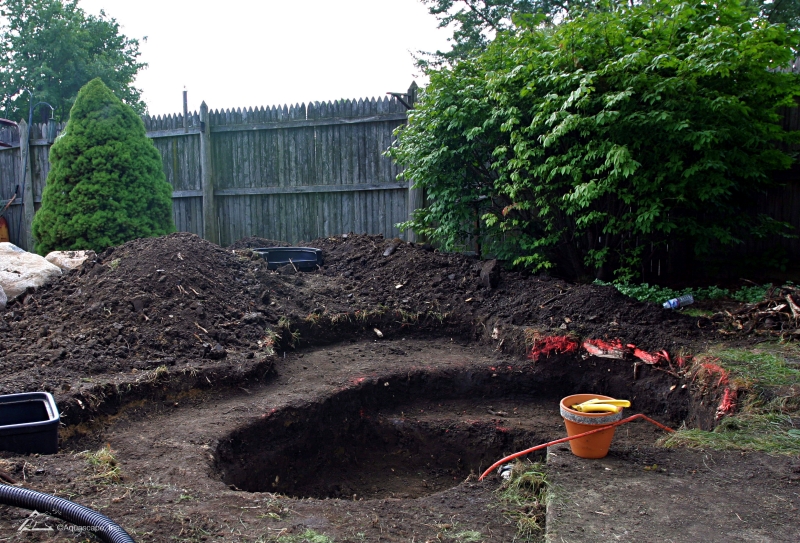
- Safety – Creating ledges allows easy access in and out of the pond for maintenance. This is much better than the traditional, sharp drop-off in which someone can slip and get injured trying to get in and out.
- Stability – Terracing provides stable pond walls.
- Aesthetics – Shelves create interest and provide a more natural appearance. Shelves also create areas for aquatic plants.
- Efficiency – Shelves create a more efficient utilization of materials and installation practices because it’s easier to build a series of small walls rather than one large one.
Human Interactions
If nobody is around to hear, see, or interact with a water feature, it might as well not exist. Ponds and streams need to be designed with people in mind. Take advantage of human nature and cater to your customer’s needs and wants. It may be as simple as aiming a waterfall toward the master bedroom window or placing a bench in the right spot. Be sure to consider the view from inside the home, as well. When your customer can open the window and hear and see the pond and waterfall, it increases their enjoyment level.
Considering the Surroundings
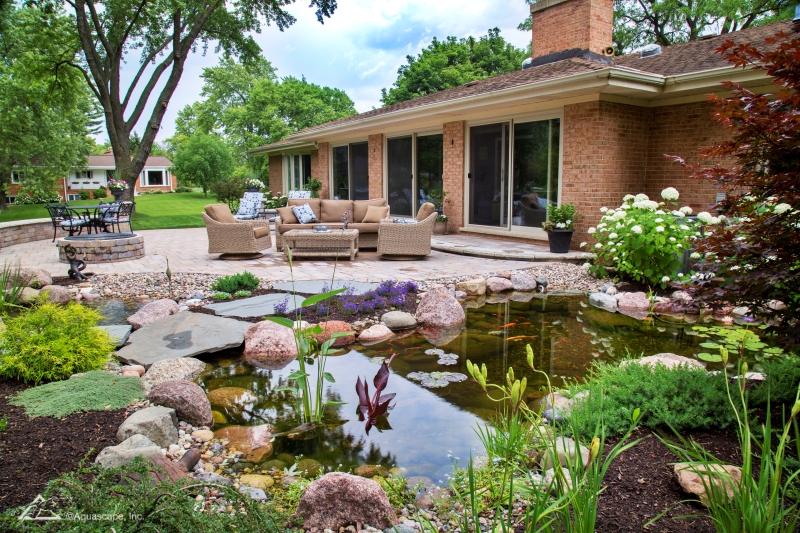
Place the pond where your customer will interact with it most, whether it’s a sunny or shady spot. And always bring a portion of the water feature right up to viewing areas such as a deck or patio. This is extremely easy to do, and it complements the present structures. In cold areas, leave a soil buffer to allow for some expansion near paver or flagstone patios or walkways. Decks are easy to work into the pond design because they can be cantilevered over the water, giving it a dock-like feeling.
A complete and unique outdoor living area can be created with the water feature as the focal point. Building new hardscapes helps create the perfect spot and the ultimate outdoor oasis, complete with a pond and a seating area alongside. Once you install a pond, it’s much easier to gain future work from that same customer.
Before You Dig
Whether you’re just getting started with water garden installation, or you’re a seasoned pro, it is important to keep these design elements in mind when creating a pond of any size. You should always know what your customer wants before you start digging. Then you can bring their ideas to life, and possibly improve them, to give your customer the pond of their dreams that fits their lifestyle and budget.


